My First 3D Design

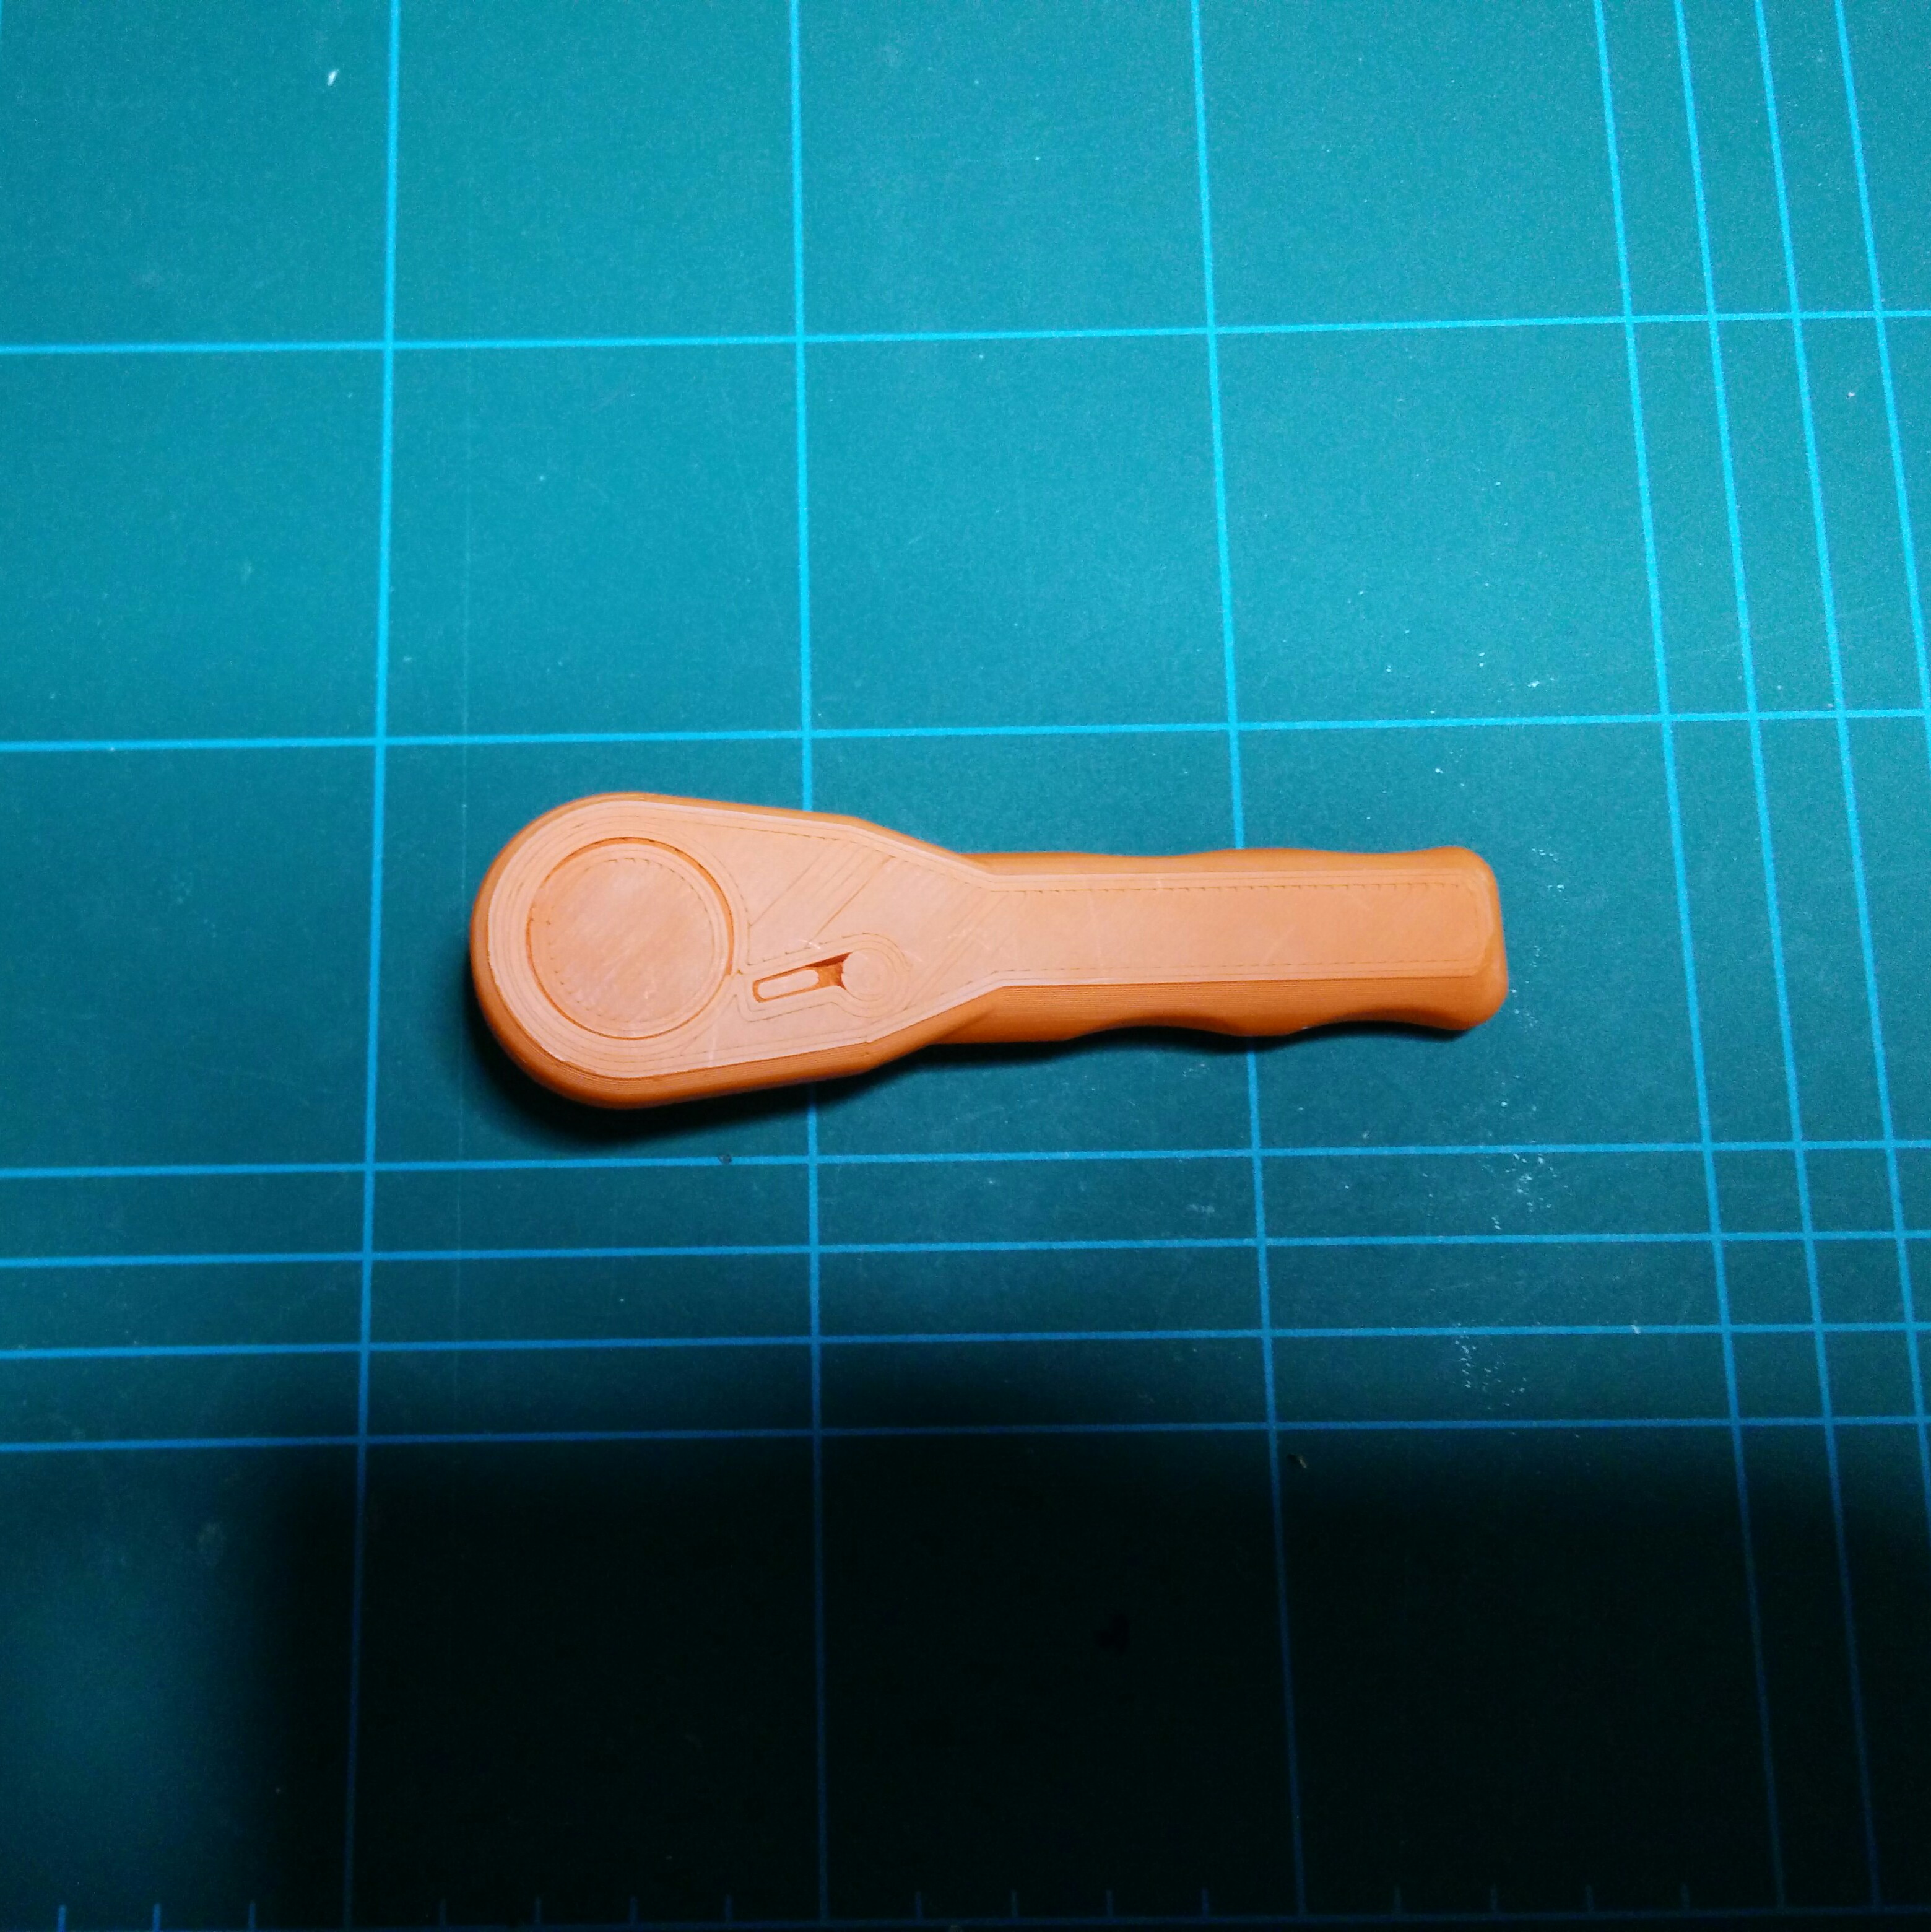
The EMAX Nighthawk Pro 280
racing quadcopter has its power distribution & control board
exposed underneath the quad. It is conformally coated but that’s
not enough so I designed and 3D printed a protective underplate.

Measuring Up

I traced the outline of the power distribution board (PDB) on
paper. Then i added some straight lines to make measuring the
odd shape easier.

OpenSCAD

I’ve been playing with SketchUp, 123Design and OpenSCAD. I chose
the latter here since this job is mostly transferring some
measurements to CAD and adding a couple of small design ideas.

underplate.scad

It’s been ages since i wrote code in a procedural language. Having
dependencies on global variables feels so wrong! I’ll need to read
up some idiomatic OpenSCAD examples, i see it comes with a fair
library.

Talking of old knowledge, it’s been ages since i had to do any
geometry. I had to google Pythagoras because i forgot to take
the square root but i got my arctangent trig problem first time
off the top of my head. I’ll happily take that.

Sharing The Design

I exported an STL of the finished design, which github knows
how to render so you can view it in your browser which is cool!

underplate.stl

Now to finally create a thingiverse account after free-loading
so many things from there!

What Did I Learn?

3D Printing may be consumer level tech nowadays but designing
for manufacture is still hard. Taking accurate measurements of
fiddly shapes is tricky, i need to learn some more in that space.

Getting my prints to come out at the sizes i requested is easier
than expected but that’s thanks to the Lulzbot guys. I have had
to adjust the filament size in Cura a few times. The diameter
seems to change by +/- 0.3mm every metre or so. 10% is a lot to
my mind.

ABS is tough, really tough. HIPS is also tough enough for this
application while being cheaper and lighter but it’s definitely
more brittle and inter-layer adhesion isn’t quite as good as ABS.

NASA 3D Printed Wrench

To test out my new Lulzbot Mini i printed the
Nasa 3D wrench.

wrench1.jpg

It ratchets in the clockwise direction only but it prints as
a fully functioning part. It’s stronger than the rated 3in-lbs.

wrench2.jpg

It wasn’t all plain sailing though, this being my first ever
3D print, it was a good learning curve.

wrench3.jpg

I didn’t fully print all of these, i could tell early on if it
was going to work or not.

| Material | Fillament Dia | Layer Height | Flow | Infill | Result                |
| ABS      | 2.85mm        | 1.8mm        | 100% | 20%    | Fused solid           |
| ABS      | 2.85mm        | Std Print    | 100% | 20%    | Fused solid           |
| ABS      | 3mm           | 2mm          | 90%  | 25%    | Works, slightly loose |
| ABS      | 3mm           | 1.8mm        | 100  | 25%    | Fused solid           |
| ABS      | 3mm           | 1.8mm        | 95%  | 25%    | ?                     |

I was having a tough time getting these off the print bed. First
layer adhesion was too good. So i reduced initial layer line width
to 115% which struck a nicer balance of security vs. easier removal.

So it seems my Lulzbot mini over prints very slightly. Upping the
fillament diameter helped but did not fully resolve. I measured the
fillament at between 2.80mm and almost 3mm in some sections.

I measured the infeed and found a 10mm command produced a 9.95mm
feed.

With 20% infill i can’t break the handle with hands alone. The
square peg fails easily by splitting a layer. Tolerance of square
peg is tight, even with set to under extrude.

Quadrifilar Helix Antenna

I followed Andrew McNeil’s design for a 5.8GHz Quadrifilar
Helix Antenna. This was to replace a crappy omni whip antenna
that came with an RC852 video rx.

q3.jpg

I ordered some semi rigid coax from ChinaRF on eBay and I used
some earth wire from some scrap 2C+E i had laying around. I
tried to straighten it as best i could!

q1.jpg

Bending the shape of the lobes was harder than expected. I
posted on reddit and someone suggested using a 3D Printer to
create a jig. One for the future i think!

q2.jpg

It works better than expected. I hooked it up to my HackRF
and compared the received signal from my FPV racing quad.
With the original omni i was seeing peaks at -65dbm but with
this i reliably get to -55dbm in the same test conditions and
subjectively much better signal when the quad is moved around.

Quanum Googles v1

Hobby king were doing a deal on Quanum v1 headsets. I figured i could repurpose the
screen if i didn’t like them.

goggles1.png

I’m pleased to say they worked out really cheaply!

  • 20GBP Quanum v1 from Hobby King
  • 12GBP RC832 5.8GHz Video Rx from Bang Good
  • 2GBP GoPro headstrap from eBay

To make this setup, I drilled 2 holes in the back of the Quanum screen’s rear case
then bolted the RC832 5.8GHz video receiver to it. I moulded a little epoxy putty
around them to make it look like this is the way the product was designed all along.
Instead of the very poor head strap supplied with the Quanums, I used a GoPro head
mount. I eliminated all the cabling except for a short power cord.

This setup leaves AV Out 1 for another external feed, perhaps a DVR. The monitor
has a second video input but i can’t think of any use for that so i didn’t expose it.

goggles2.png

The Quanum v1 + video Rx is pretty light, but putting the battery behind my head
enhanced the comfort by balancing everything perfectly on my head. I used the gopro
mount to hold the battery by looping an elastic band under the lipo.

goggles3.jpg

The supplied antenna is quite poor, as to be expected. I made a Quadrifilar
helix antenna to replace it. I’ll write that up next.

HC06 Bluetooth Module

The HC06 is the same hardware as HC05 but has fewer features. JY-MCU is written on the rear of HC06
modules.

Connecting To The Serial Port

These devices are 3.3v only. The wiring is straightforward:

|  Serial Adapter  |  HC06  |
| 3.3v             | Vcc    |
| Gnd              | Gnd    |
| Tx               | Rxd    |
| Rx               | Txd    |

The state pin emits the same pattern as the red led and can be used to detect current status. The
key pin is unused.

Entering Commands

HC06 monitors input for 1 second then acts upon what’s been received. Newlines should not be used
at the end of commands, as would normally be the case for AT commands.

The available command set is small. The useful subset is easy to remember:

| Command    | Response   | Notes                           |
| AT         | OK         | Status check                    |
| AT+NAMEFoo | setname    | The bluetooth name is now "Foo" |
| AT+PIN1234 | setpin     | The bluetooth PIN is now 1234   |
| AT+BAUD4   | OK         | The default baud rate, 9600     |
| AT+BAUD8   | OK         | 115200 baud rate                |

There are no terminating newlines in these commands. The HC06 simply waits for up to 1 second
and executes at command entered until that point. This means you’ll have to copy / paste commands
for them to be fully entered quickly enough.

Using The Bluetooth Serial Bridge

Connect to the bluetooth device, connect to the bluetooth com port, now any text entered is
sent to the serial connection and vice versa.

CP2102 and Arduino

There are 4 main USB to Serial chips sold on eBay:

  • Genuine FTDI, rare and most expensive. Has the best drivers.
  • Fake FTDI, common and cheap. Shares the best drivers.
  • CP2102, common and cheap. Now has good drivers on all platforms
  • CH340G, ultra cheap and currently has terrible drivers although it’s still quite new so this may change

To connect a CP2102 to an Arduino Pro Mini:

|  CP2102   |  Arduino |
| 5v / 3.3v | Vcc      |
| Txd       | Txd      |
| Rxd       | Rxd      |
| GND       | GND      |
| DTR       | DTR      |

NB: the pinouts are confusing here, i’d expect Txd to connect to Rxd and vice versa. Similarly i’d
expect DTR to be labelled RTS. The above is correct on my version of the cp2102 but it did cause me
some consternation to find this!

Different versions of the CP2102 breakout board are available. Some make for neater wiring connections
than others but all work just as well.

Unbricking FTDI Chips with Vagrant

Some fake FTDI chips had their Product ID reset by old FTDI drivers from 0x6001 to 0x0000 which rendered
them unusable. It’s possible to reprogram the Product ID string and the modern FTDI drivers no longer
make this change. I used Vagrant to create a linux virtual machine for this:

vagrant init ubuntu/trusty64
vagrant up

I plugged the FTDI in to my host. I opened the virtualbox GUI and assigned this USB device to the
VM. The required USB drivers are not present in this image, so i added them:

sudo apt-get install linux-image-extra-virtual

It’s possible at this point to tell udev to use the ftdi_sio module for devices reporting a product
ID of 0x0000 but that would only make the chip usable from this virtual machine.

I downloaded Mark Lord’s ft232r_prog v1.25 from http://rtr.ca/ft232r/ and built it. I then used it
to update the configured product id:

sudo ./ft232r_prog –old-pid 0x000new-pid 0x6001

After re-plugging the device in, it was usable as normal from my host machine.

ESP8266 Arduino

The Software

The Arduino environment can be used to program ESP8266 WiFi boards. To configure the Arduino IDE v1.6.5
or newer, go to File -> Preferences and add the following Additional Boards Manager URL:
http://arduino.esp8266.com/stable/package_esp8266com_index.json

Then go to Tools -> Board -> Boards Manager. Install the latest esp8266 board manager.

Libraries

Available libraries include HTTP servers, mDNS / Bonjour & SSDP service discovery alongside
any other Arduino libraries which don’t make use of native ATMEL hardware functions.

An implicit ESP object provides access to platform native functionality not found in the other
Arduino environments.

The Hardware

The most common board is the ESP01. It’s a tiny 3.3v device with 2 rows of 4pin headers at one end and
a pcb antenna at the other. It’s capable of WiFi b/g/n in client or access point modes at up to 300m range.

The processor runs at 80MHz and has a 512K SPI flash alongside it which runs at 40MHz. 64K of this flash
is used as a filesystem (SPIFFS).

There are 4 GPIO pins, 2 of which double up as UART Tx/Rx. The UART defaults to 115200 baud rate. There’s
also a blue LED on the GPIO1 / UART TXD pin, it is active when the GPIO1 line is pulled low.

Pinouts

With the board sitting so that the PCB antenna is facing upwards on the right hand side, the pins are:

| GPIO1 / UART TXD / Blue LED | GND              |
| Chip Enable (pullup to Vcc) | GPIO2            | 
| RST                         | GPIO0            |
| Vcc                         | GPIO3 / UART RXD |

If using GPIO1 and / or GPIO3, then the Serial port is unavailable. Likewise, if using the serial port
then only 2 GPIOs are available for use.

The nature of the pinout means these boards are not particularly easy to use with a protoyping
breadboard. I went with this idea: http://tim.jagenberg.info/2014/11/08/diy-esp8266ex-breadboard-adapter/

Programming Connections

Whatever the pins are used for in your circuit, they are automatically overridden when the board is in
programming mode.

Connections to a 3.3v USB Serial adapter are:

|   ESP8266   |  Serial Adapter  |
| GPIO1 / Tx  | Rx               |
| GND         | GND              |
| Chip Enable | 3.3v             |
| GPIO2       | N/A              |
| RST         | RTS              |
| GPIO0       | DTR              |
| Vcc         | 3.3v             |
| GPIO3 / Rx  | Tx               |

Other Boards

Other boards are available, almost all of them expose more pins than the ESP01. The most flexible
appears to be the NodeMCU v1.0 which for around £5 comes with an ESP-12E, a much larger 4MB SPI flash,
an onboard voltage regulator and an onboard CP2012 USB to serial adapter all in a breadboard-friendly
sized package.

Hexo with Github Pages

There are 3 steps to configuring the hexo static site generator to use a custom domain while hosting on Github Pages:

  1. Create A Git Repo
  2. Configure Hexo
  3. Configure DNS

Lastly there’s some notes on how to use this setup.

Create A Git Repo

Create an empty repo named your-github-username.github.io on the Github site. Next, create a git repository to upload there:

1
2
3
4
5
6
[user@host ~]$ git init github-username.github.io
[user@host ~]$ cd github-username.github.io
[user@host github-username.github.io]$ touch .gitignore
[user@host github-username.github.io]$ git add .gitignore
[user@host github-username.github.io]$ git commit 'Initial Commit'
[user@host github-username.github.io]$ git remote add origin ssh://git@github.com:Your-Github-Username/your-github-username.github.io.git

There will be 2 branches in the repo:

  • master: hosts your generated static html / css etc.
  • blog-setup: the name of this branch is unimportant, but it is an orphan branch and exists in parallel to master. The two are never merged. All your commits will be on this branch.
1
2
3
4
5
6
7
8
9
10
11
12
13
14
[user@host github-username.github.io]$ git checkout --orphan blog-setup
[user@host github-username.github.io]$ git rm -rf *
[user@host github-username.github.io]$ cat - > .gitignore <<EOF
.DS_Store
Thumbs.db
db.json
*.log
node_modules/
public/
.deploy*/
EOF
[user@host github-username.github.io]$ git add .gitignore
[user@host github-username.github.io]$ git commit -m 'Initial commit of blog setup branch'
[user@host github-username.github.io]$ git push -u origin blog-setup

Configure Hexo

First i installed hexo and created a site:

1
2
3
4
5
[user@host github-username.github.io]$ npm install hexo -g
[user@host github-username.github.io]$ hexo init
[user@host github-username.github.io]$ npm install
[user@host github-username.github.io]$ hexo server
INFO Hexo is running at http://0.0.0.0:4000/. Press Ctrl+C to stop.

Visiting the URL in your browser will show the default page. Next i installed a theme i liked from the wiki themes list. I merged the theme repository as a subtree in git since in practice git submodules (the suggested method) can be quite clunky. The Github Page on this topic is a good reference.

1
2
3
4
5
6
7
8
9
10
11
12
13
14
15
16
17
18
19
20
21
22
23
24
25
26
27
28
29
30
31
32
33
34
35
36
37
38
39
40
41
42
43
44
[user@host github-username.github.io]$ git remote add -f alex https://github.com/ppoffice/hexo-theme-alex.git
[user@host github-username.github.io]$ git merge -s ours --no-commit alex/master
[user@host github-username.github.io]$ git read-tree --prefix=themes/alex -u alex/master
[user@host github-username.github.io]$ cat - >> _config.yml <<EOF
theme: alex

# Overridable Alex theme setting defaults from themes/alex/_config.yml
theme_config:

# Header
menu:
Home: /
Archives: /archives
About: /about/index.html
rss:
github: https://github.com/ppoffice/hexo-theme-alex

# Content
excerpt_link: Read More
fancybox: true

# Sidebar
sidebar: left
widgets:
- category
- archive
- recent_posts
- tag
- tagcloud
- links

# Links
links:
Hexo: http://hexo.io

# Miscellaneous
google_analytics:
favicon: /favicon.png
twitter:
google_plus:
fb_admins:
fb_app_id:
EOF
[user@host github-username.github.io]$ git commit -m 'Import alex theme'

Next i made the site deployable to github pages. I already have an SSH key trusted by github so i will deploy my git repo by SSH.

1
2
3
4
5
6
7
[user@host github-username.github.io]$ npm install hexo-deployer-git --save
[user@host github-username.github.io]$ cat - >> _config.yml <<EOF
deploy:
type: git
repo: ssh://git@github.com/Your-Github-Username/your-github-username.github.io
branch: master
EOF

Configure DNS

Firstly, Github Pages requires that we publish a file called CNAME to the root of our repository (master branch). Since hexo performs a force push to that location, if we simply added the CNAME file it would be overwritten at deployment time. There is a simple plugin available to perform this for us though:

1
2
3
4
5
[user@host github-username.github.io]$ npm install hexo-generator-cname --save
[user@host github-username.github.io]$ cat - >> _config.yml <<EOF
plugins:
- hexo-generator-cname
EOF

Now when hexo generate is run, a CNAME file containing your domain name (configured from the url variable in _config.yml) will be created.

Lastly, you need to login to your DNS provider and create a DNS CNAME record pointing hostname www to your-github-username.github.io. This can take a few hours to replicate.

Using This Setup

Now that the configuration is complete, we can actually publish some posts!

Leverging Git: A Branching Strategy

We have 2 unrelated branches in our repo: master; blog-setup. We never directly edit anything in master, that’s updated for us when we run hexo deploy. The blog-setup branch contains the hexo site and i create branches off that for each of my posts:

1
2
3
4
5
6
7
8
[user@host github-username.github.io]$ git branch
* blog-setup
master
[user@host github-username.github.io]$ git checkout -b my-next-post-topic
[user@host github-username.github.io]$ hexo new post "My Next Post Topic"
[user@host github-username.github.io]$ git add .
[user@host github-username.github.io]$ git commit -m "Started topic"
[user@host github-username.github.io]$ git push -u origin my-next-post-topic

When i’ve made my last commit and i’m ready to publish, i merge the branch back to blog-setup before running hexo generate and hexo deploy. The neat thing about pushing the branch upstream is that i can work on it over a few days from different machines, using Github as both an offsite backup and a synchronisation mechanism.